I used several sites showing various static-site generators to help me choose my site generator, ones that ranked them via various means, and which you could see a demo of the site. The main one is https://staticsitegenerators.net/ which shows you 363 separate sites! You can see from it which have been most recently updated, and "pelican"1 comes second in that list showing that it was last updated 2 hours ago! Now that is impressive! And another site is https://www.staticgen.com/ which can show the most popular site-generators, and here "pelican" ranks sixth.
I've decided to use "pelican" to build my websites with as its in active development and its what is known as a "static-site generator", meaning that I build the web page, and then upload it to my site. I've used other static-site generators in the past, specifically "nanoblogger"2 and "chronicle"3, but that was a very long time ago!
Pelican has many features, like -
- The ability to write your content directly with your editor of choice in reStructuredText, Markdown, AsciiDoc, or org-mode.
- Completely static output is easy to host anywhere.
- Includes a simple CLI tool to (re)generate your site.
- Easy to interface with distributed version control systems and web hooks.
- Articles (e.g., blog posts) and pages (e.g., "About", "Projects", "Contact").
- Comments, via an external service (Disqus). If you prefer to have more control over your comment data, self-hosted comments are another option. Check out the Pelican Plugins repository for more details.
- Themes that can be customized via Jinja templates.
- Publication of articles in multiple languages.
- Atom/RSS feeds.
- Code syntax highlighting.
- Import from WordPress, Dotclear, or RSS feeds.
- Modular plugin system and corresponding plugin repository.
- Integration with external tools: Twitter, Google Analytics, etc. (optional).
- Fast rebuild times thanks to content caching and selective output writing.
So you've chose "pelican" and heres a sample setup details -
;; pelican-quickstart
Welcome to pelican-quickstart v3.6.3.

This script will help you create a new Pelican-based website.

Please answer the following questions so this script can generate the files
needed by Pelican.


> Where do you want to create your new web site? [.]
> What will be the title of this web site? blogo
> Who will be the author of this web site? Sharon
> What will be the default language of this web site? [en]
> Do you want to specify a URL prefix? e.g., http://example.com   (Y/n)
> What is your URL prefix? (see above example; no trailing slash) blogo
> Do you want to enable article pagination? (Y/n)
> How many articles per page do you want? [10]
> What is your time zone? [Europe/Paris] Europe/London
> Do you want to generate a Fabfile/Makefile to automate generation and publishing? (Y/n)
> Do you want an auto-reload & simpleHTTP script to assist with theme and site development? (Y/n)
> Do you want to upload your website using FTP? (y/N)
> Do you want to upload your website using SSH? (y/N)
> Do you want to upload your website using Dropbox? (y/N)
> Do you want to upload your website using S3? (y/N)
> Do you want to upload your website using Rackspace Cloud Files? (y/N)
> Do you want to upload your website using GitHub Pages? (y/N)
Done. Your new project is available at /home/boudiccas/pelican/blog
There's no need to change much in the default quickstart wizard. Default values are indicated by [default] and (y/N) ,
where the capitalized letter is the default value. Just one thing to note here is URL prefix; don't set it right now,
set it when you actually want to take your site online, and we will go over how to do that later.
After pelican-quickstart has completed, this is what the directory should look like -
├── Makefile
├── content/
├── develop_server.sh
├── fabfile.py
├── output/
├── pelicanconf.py
└── publishconf.py
I like to write my posts in markdown as its very easy to use, allowing you to have various things
highlighted like the code that you see here, and links like showing markdown here. It also allows you to use
footnotes, and blocks of code, like in this post.
The Makefile is very useful and easy to use, so I enabled that. It allows you to compile the website with make html
or make devserver. If you want to test your website, you can run make clean (to delete any previously generated
files), followed by make devserver to run a fake server on your local machine. I find that make devserver is a better
simulation of the website than make html.
When I'm ready to upload my content to the web host, there are a variety of options. I don't enable FTP upload because
it's not very secure. I try to stick with some transfer method that uses SSH. You can use make ssh_upload which works
fine, but I prefer make rsync_upload which uploads using rsync and SSH. Unlike make ssh_upload which uses scp and
uploads everything, the rsync command only sends incremental changes, which makes your data transfer much more
efficient.
Note - All the make commands have to be run in the same directory as the Makefile.
So, lets write a post, so first you need to -
cd content
and then lets call it first-post.md which will look like this -
title: My first post
date: 2015-10-17
tags: first

Hello world! Welcome to pelican!
And this is what the project directory looks like now -
├── Makefile
├── content
│   └── first-post.md
├── develop_server.sh
├── fabfile.py
├── pelicanconf.py
├── pelicanconf.pyc
└── publishconf.py
Now changing back to our project directory, we can start the development server, and see the generated blog post by
using either make devserver or fab regenerate, but this last one will only work if you have installed Fabric
Once this is done, we should be able to see our post on localhost:8000 looking like this in iceweasel -
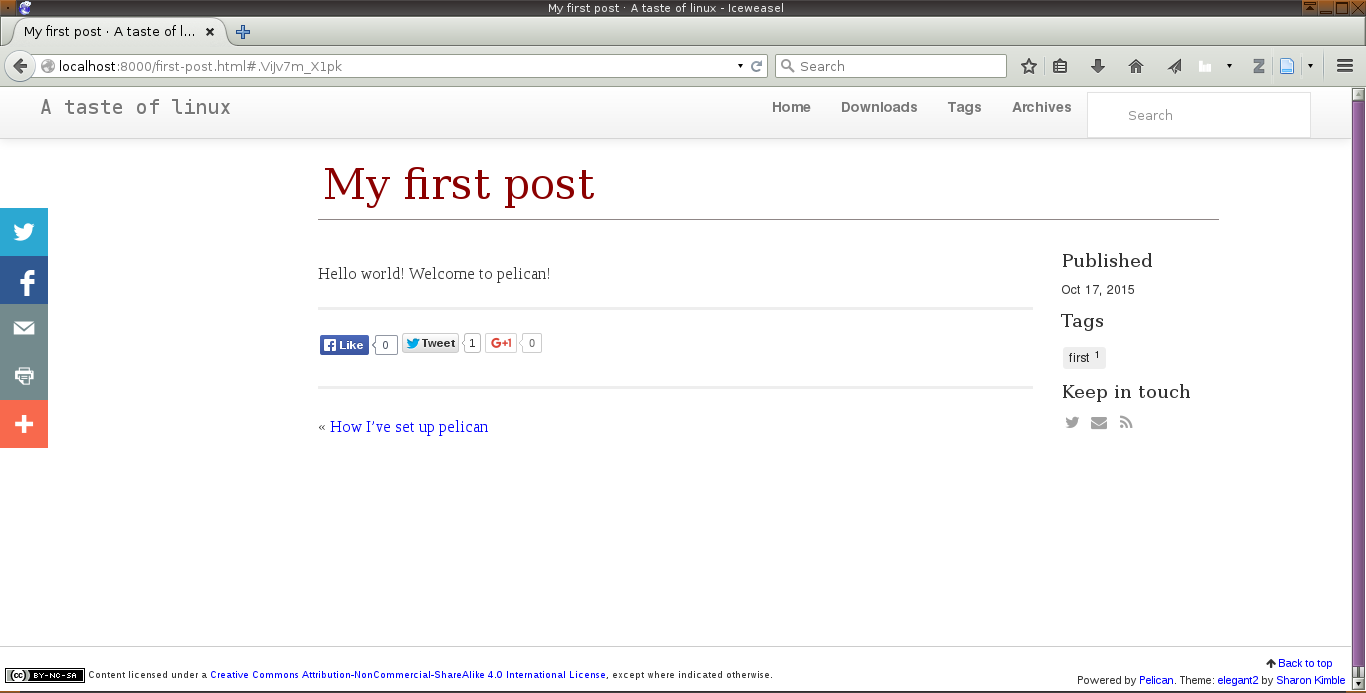
You can click that image to enlarge, but then you have to use your back button to get back to this post.
We can stop the server by using make stopserver but only if you've been using make devserver
Congratulations, you're now at the stage of being able to write your own posts in pelican.
And to upload your files using rsync and SSH you can use the command make rsync_upload or fab serve.
When we've been using the fabfile.py, it has several other commands which might prove useful for you, so have a look
at it and have a play.
-
Installing on debian you use
sudo apt-get install python-pelican, or using pip andpip install pelican. You can also get the source code usinggit clone --recursive https://github.com/getpelican/pelican↩ -
Installing on debian you use
sudo apt-get nanoblogger, but, and its a very big BUT, the website at Nanoblogger home page states that development has ceased at 2013-02-10! Having said that it is available in debian usingsudo apt-get install nanobloggerwhich will give you version 3.4.2-3 in jessie, testing, and unstable. But, as its no longer being maintained it might well disappear from future debian releases. ↩ -
Installing on debian you use
sudo apt-get chroniclewhich will give you version 4.6-2 in jessie, testing and unstable. Its homepage is at Steve Kemp's Chronicle. ↩
Comments
comments powered by Disqus